Viewing and editing employee settings
Various settings are available for your employees. The settings can be viewed and changed from your employee database within the connections screen.
Read on for more information on the what settings are available for each employee.
Viewing employee settings
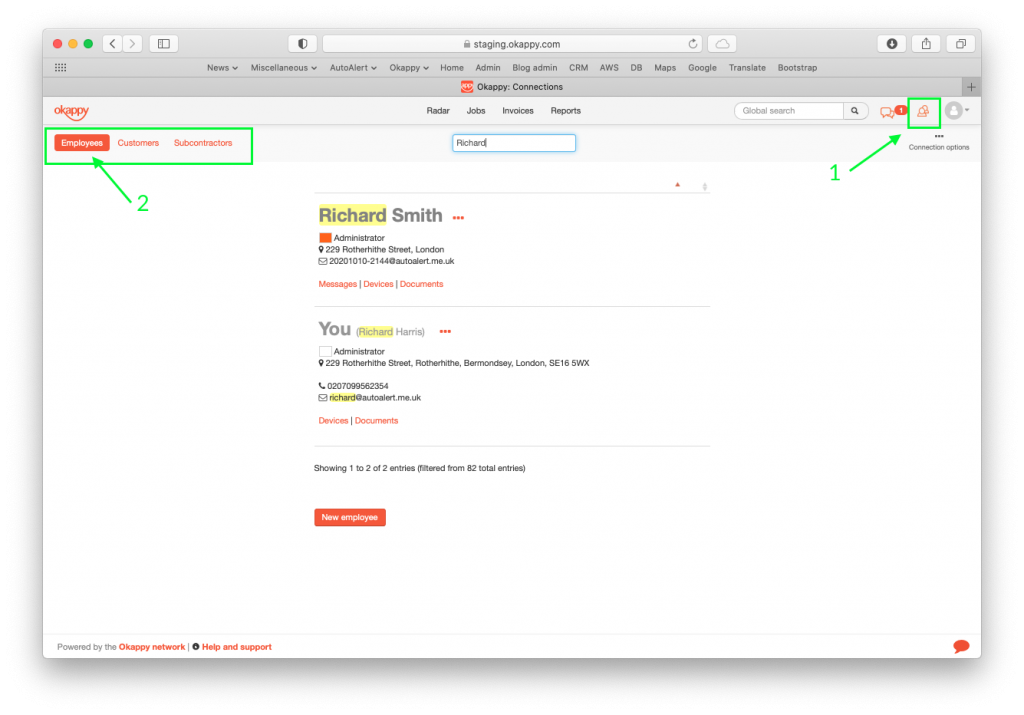
To view your employee settings, 1) click the connections icon ![]() from anywhere within the web app and then 2) choose Employees.
from anywhere within the web app and then 2) choose Employees.

Editing employee settings
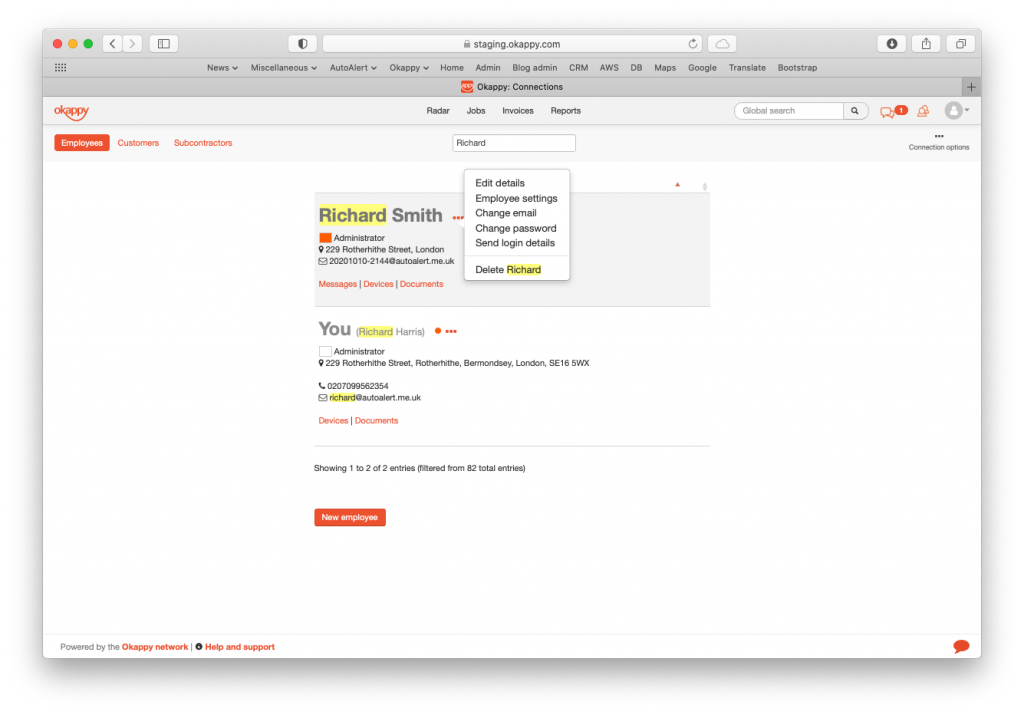
To edit your employee’s details, click the three dots icon next to the relevant employee to bring up the Employee actions menu and select Employee settings.

From there you can change the following settings
Admin or standard user
An admin user can see all jobs and has access to settings. A standard user can only see jobs that have been assigned to them.
Visible pages
Set which screens can be accessed by your employee. The available screens are
- Dashboard
- Radar
- Jobs
- Invoices
- Reports
Notes:
- If your employee is accessing Okappy via a mobile app, then the Dashboard, Invoices and Reports screen are not relevant
- The availability of each screen will also depend on your subscription level.
Home page
Set which screen is opened by default when you employee first logs in to the web or mobile app.
Note: This depends on the pages you have selected above.
Select where Okappy can be accessed
You can restrict access for employees so they can only log on via the web desktop or mobile device.
Additional options
Set whether
- employees can add or re-assign jobs
- View connections (customers or subcontractors)
- View job histories
- Send job sheets by email from within the mobile app
Job update settings
If you have a daily checksheet set up, you can determine which employees have to fill this in when they first open the app.
You can also determine whether the time and location is saved at each stage the job is updated.
For further information
For further information search in our support pages or forum
