See the last location of your vehicles and engineers using the Radar screen
The Okappy radar screen shows the last location transmitted by your engineers via their app or by devices installed in your vehicles. You can quickly home into a particular device, zoom in or out and get directions.
Read on for more information about the radar screen.
Depending on your subscription level, you can view your locations using Google Maps. Zoom in to see the location where your engineer is in detail or zoom out to get the bigger picture. You can also search for postcodes, get directions, view traffic conditions around your engineers and much more.
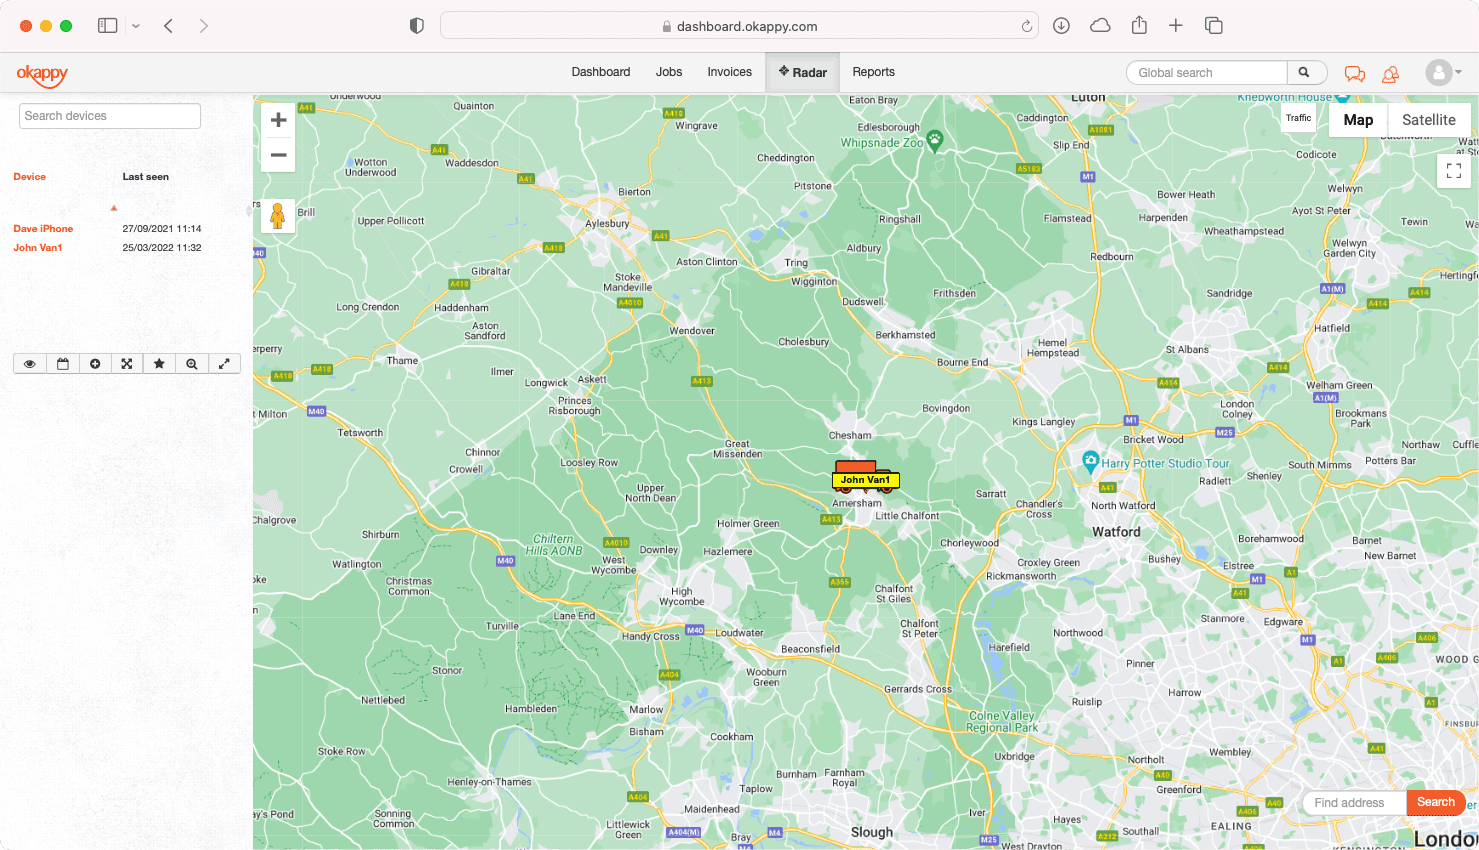
To view your devices, click the Radar tab towards the top of the screen.
Note: If the radar tab is not showing, enable it from your settings.
The radar screen shows the last know location from any devices which have transmitted. Click on an device icon to see more information including
- Device name (click on the name to change it)
- Quality of the GPS signal
- Speed at that location
- The date of the location
- Settings button – click to change device settings
- Area button – click to add a geofence area around the current location
- Address of the location. You can send the address by text message (charges apply) and get directions
- Street, Town, Country and Overview zoom buttons
- Quick links to view in Streetview, see the latest activity report and view the routes taken
Device list

The device list is shown towards the right of the screen. You can order by device or date transmitted and enter any part of the device name in the filter to find a device.
Clicking on a device will centre the map around that device and show the device information pop up.
Options

From left to right, the options are
- Show and hide devices
- Device driving and working times (installed GPS tracking devices only)
- Add new devices
- Zoom to show all vehicles
- Zoom to default zoom level
- Save the current zoom level as default
- Select icon centering. If centering is on, clicking on an icon will move the map to centre that device in the middle of the screen
Google maps options

The standard Google Maps options are available towards the top right of the screen. From there you can
- Show traffic conditions
- Select map type
- Show satellite view
- Show in full screen
On the left side of the maps are buttons to zoom in and out and select Streetview.
View the latest locations of all your engineers. Zoom in to see the location where your engineer is in detail or zoom out to get the bigger picture. You can also get directions, quickly filter for an engineer and add geofence areas around an engineer current position.

To view your devices, click the Radar tab towards the top of the screen.
Note: If the radar tab is not showing, enable it from your settings.
The radar screen shows the last know location from any devices which have transmitted. Click on an device icon to see more information including
- Device name (click on the name to change it)
- Quality of the GPS signal
- Speed at that location
- The date of the location
- Settings button – click to change device settings
- Area button – click to add a geofence area around the current location
- Address of the location. You can send the address by text message (charges apply) and get directions
- Street, Town, Country and Overview zoom buttons
- Quick links to view in Streetview, see the latest activity report and view the routes taken
Device list

The device list is shown towards the right of the screen. You can order by device or date transmitted and enter any part of the device name in the filter to find a device.
Clicking on a device will centre the map around that device and show the device information pop up.
Options

From left to right, the options are
- Show and hide devices
- Device driving and working times (installed GPS tracking devices only)
- Add new devices
See also
For more more information on tracking, see